Pindrop® Pulse™ for Meetings enhances the security of your Zoom meetings by detecting potential deepfake audio and video in real time. The service identifies synthetic and replayed voices, AI-generated avatars, and video face swaps – helping organizations safeguard virtual discussions from manipulated media.
This guide is intended for Zoom administrators and provides step-by-step instructions for deploying the Pindrop® Pulse for Meetings application to users within your organization.
To get started with connecting the Pindrop® Pulse for Meetings application to Zoom, follow the instructions below.
Before You Begin
Make sure you have the following:
An active license for Pindrop® Pulse for Meetings.
An administrator role within the Pindrop® Pulse for Meetings product.
Administrator privileges on your organization’s Zoom account.
Step 1: Install the Zoom App
1. Go to the Zoom App Marketplace.
2. In the search bar, enter Pindrop.
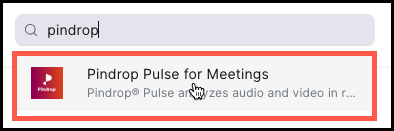
3. Select the Pindrop Pulse for Meetings app from the results. The following screen is displayed.
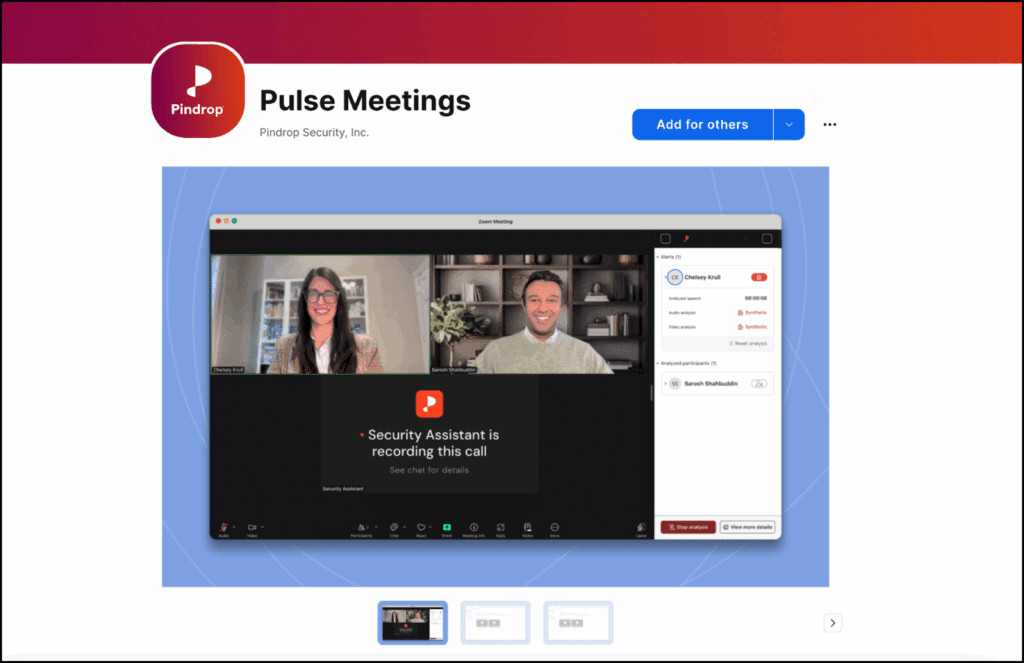
4. Select Add for others
5. Log in to your Zoom administrator account.
6. You will be redirected to Zoom’s permissions screen – choose the users or user groups where you would like to install the app and confirm the installation.

Step 2: Enable Local Recording
Zoom requires the Record to computer files option to be enabled for virtual participants, such as our Security Assistant, to access and analyze raw audio and video meeting streams.
To enable and configure this setting:
1. Log in to your Zoom administrator dashboard.
2. Navigate to User Management under the Admin section and select Groups.
3. After selecting a group, select the Recording & Transcript tab located in the top navigation bar.
4. In the General section:
Enable Record to computer files by moving the slider to the right
External meeting participants must be checked (required)
Auto approve their permission requests is optional
Step 3: Enable Pre-Meeting Disclaimer
Enable a pre-meeting disclaimer in Zoom that meets the minimum requirements as detailed in this Step.
To enable and configure this setting:
1. Log in to your Zoom administrator dashboard.
2. Navigate to User Management under the Admin section, then select Groups.
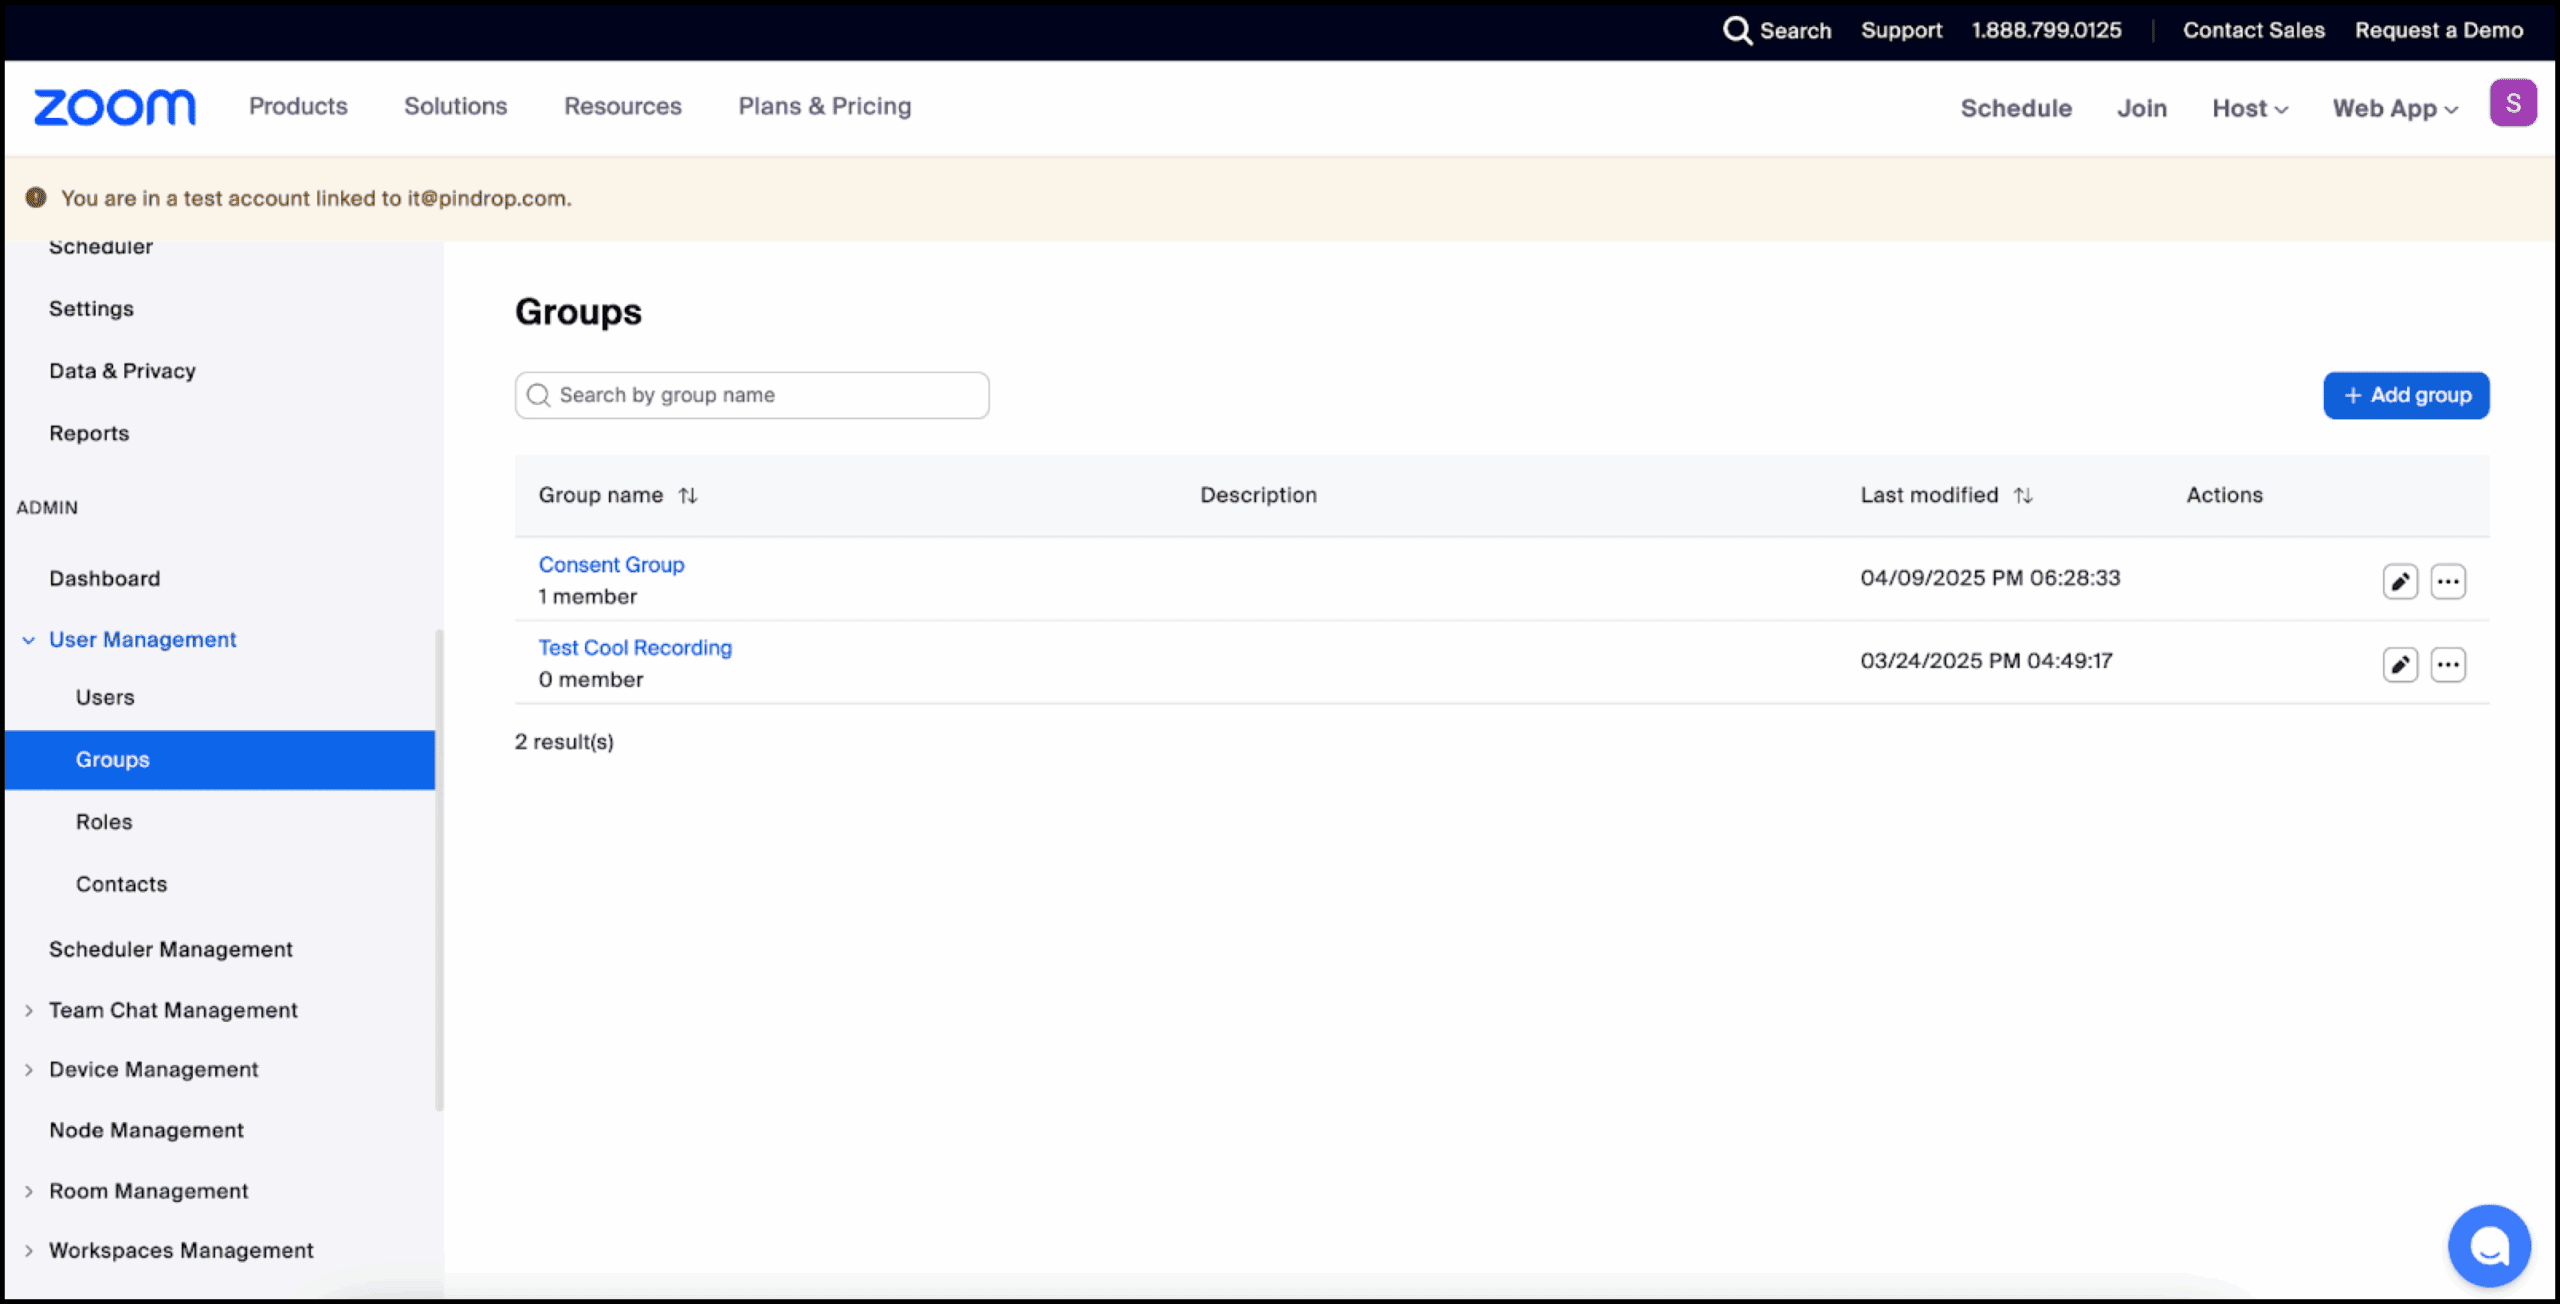
3. Select + Add Group to create a new user group or select an existing group from the list.
4. After selecting a group, select the Meeting tab located in the top navigation bar.

5. In the left-hand sub-navigation menu, select In Meeting (Advanced) or search for Show a custom disclaimer when starting or joining a meeting.
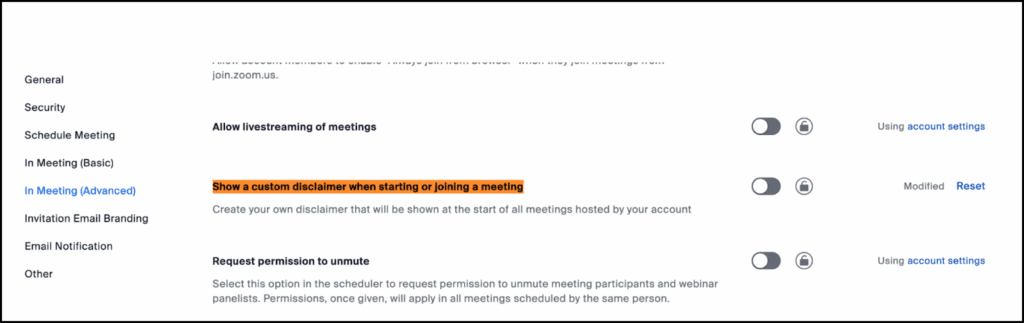
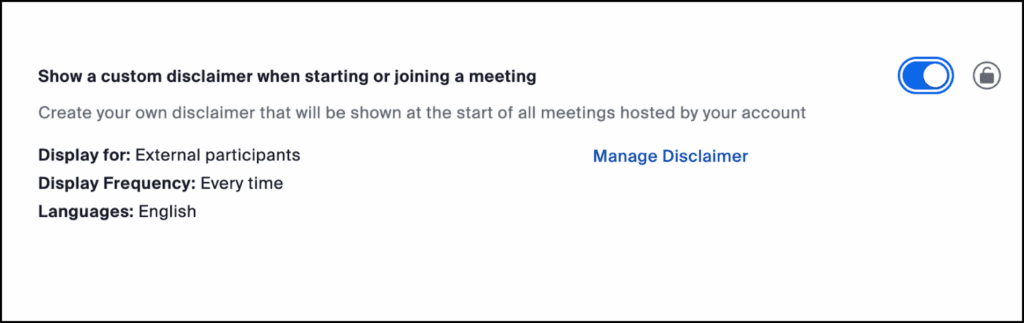
6. Enable this setting by moving the slider to the right.
7. Select Manage Disclaimer.
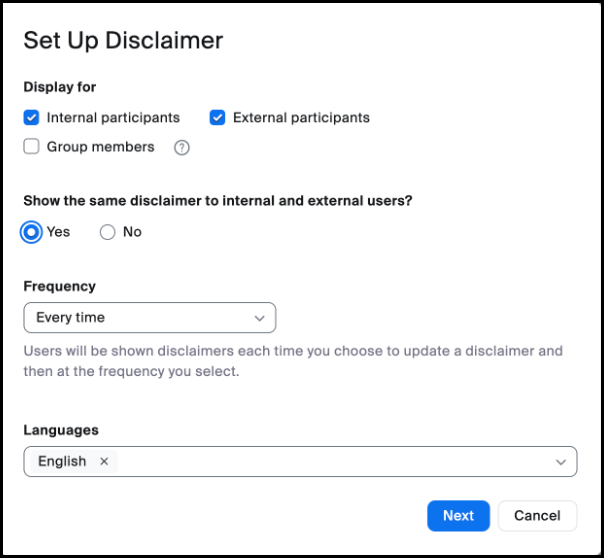
8. Set Up Disclaimer Requirements.
Your disclaimer type must match how you plan to use PindropⓇ Pulse for Meetings. For example, if you plan to use the product with internal only meetings, then select “internal” participants. If you plan to use the product on meetings with both internal and external participants, then select both the “internal” and “external” participants. If you are unsure who may attend, select both participant options.
In the previous step, if both internal and external participants were selected, select Yes to show the same disclaimer to internal and external participants.
Set Frequency to Every time.
Under Languages, select English. The following is an example screen.
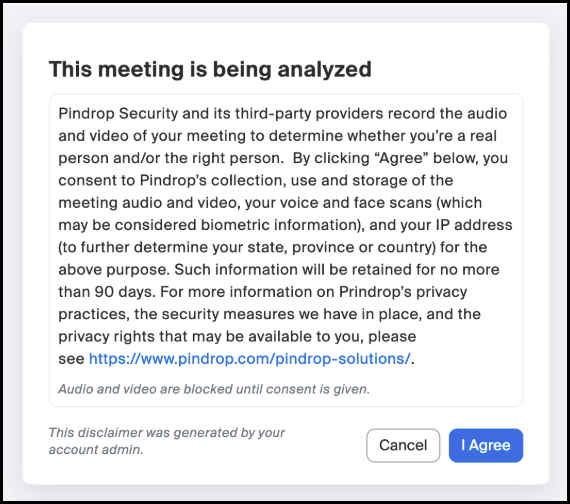
9. Select Next and enter the following required text:
Title: This meeting is being analyzed
Body: Pindrop Security and its third-party providers record the audio and video of your meeting to determine whether you’re a real person and/or the right person. By clicking “Agree” below, you consent to Pindrop’s collection, use and storage of the meeting audio and video, your voice and face scans (which may be considered biometric information), and your IP address (to further determine your state, province or country) for the above purpose. Such information will be retained for no more than 90 days. For more information on Prindrop’s privacy practices, the security measures we have in place, and the privacy rights that may be available to you, please see https://www.pindrop.com/pindrop-solutions/.
Note: As a reminder, the disclaimer is the same for all participants.
10. Select I Agree
Step 4: Manage Administrator Settings
As an administrator, you can customize the end-user experience during meetings. This includes configuring:
The Security Assistant tile image shown in Zoom meetings.
On-screen notifications for detected deepfake activity.
Retention policies for meeting recordings within Pindrop.
To configure these settings:
1. Log into the PindropⓇ Pulse for Meetings web dashboard at https://meeting.pindrop.com
2. Navigate to the Admin page.
3. Select the General Configuration tab.
4. From the General Configuration tab, adjust the branding, notifications, and retention preferences as needed. Note: the Security Assistant tile image must be approved by Pindrop.
Uninstalling Our Companion App
To discontinue your use of PindropⓇ Pulse for Meetings and delete your user and meeting data, send an email to [email protected].
1. To uninstall the application in Zoom, visit the Zoom App Marketplace.
2. Sign in to your Zoom account
3. Select Manage located in the top right corner.

4. Select Added Apps on the navigation located on the left hand side and find the PindropⓇ Pulse for Meetings app.
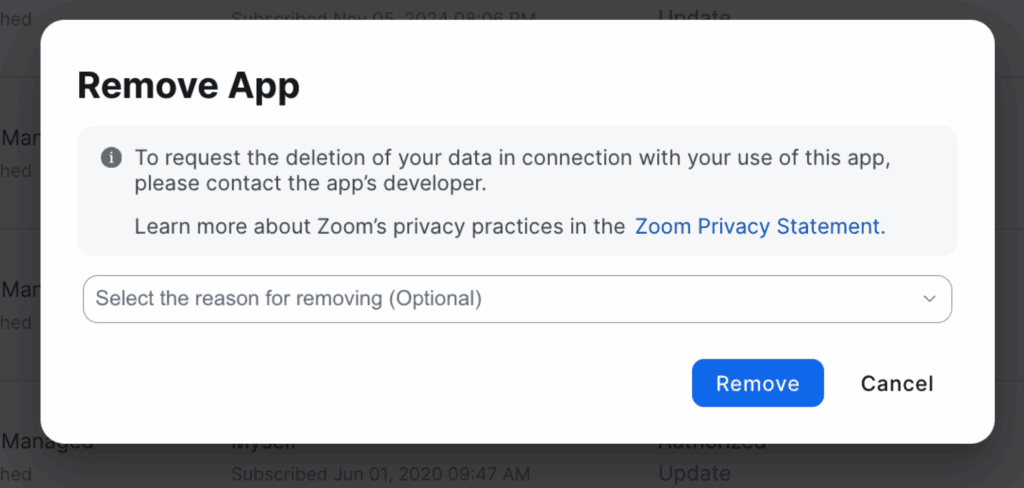
5. Under the Connections column, select Remove.
6. Select Remove from the confirmation window.
Disable Pre-Meeting Disclaimer
Once PindropⓇ Pulse for Meetings app has been uninstalled, disable the Pre-Meeting Disclaimer for your Zoom user Group(s).
1. Log in to your Zoom administrator dashboard.
2. Navigate to User Management under the Admin section and select Groups.
3. Select the group which has the Pre-Meeting Disclaimer active.
4. After selecting the group, select the Meeting tab located in the top navigation bar.
5. In the left-hand sub-navigation, select In Meeting (Advanced) or search for
Show a custom disclaimer when starting or joining a meeting.
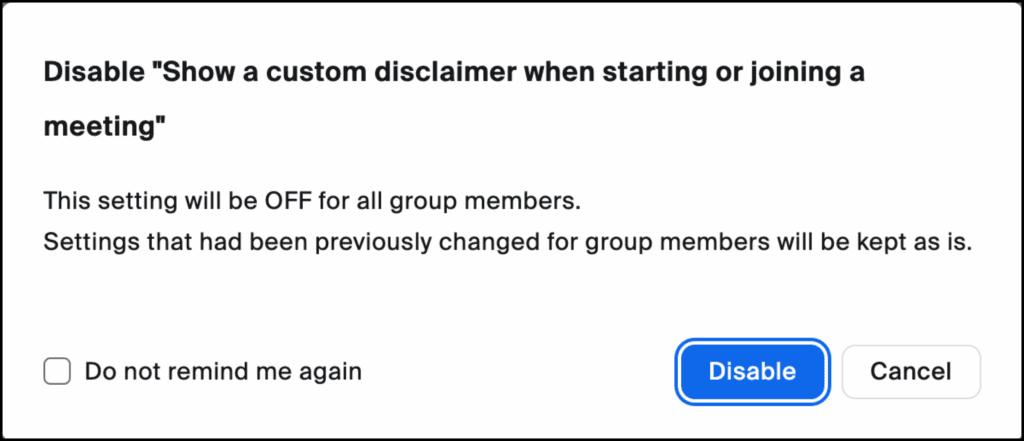
6. Turn this setting off by selecting Disable.
7. Select Disable on the confirmation window.